I wanted to post a little step by step process behind creating this 6ft tall banner that I used at Star Wars Celebration this year. I didn’t leave myself much time to get it done so the following process takes place in about a week and a half.
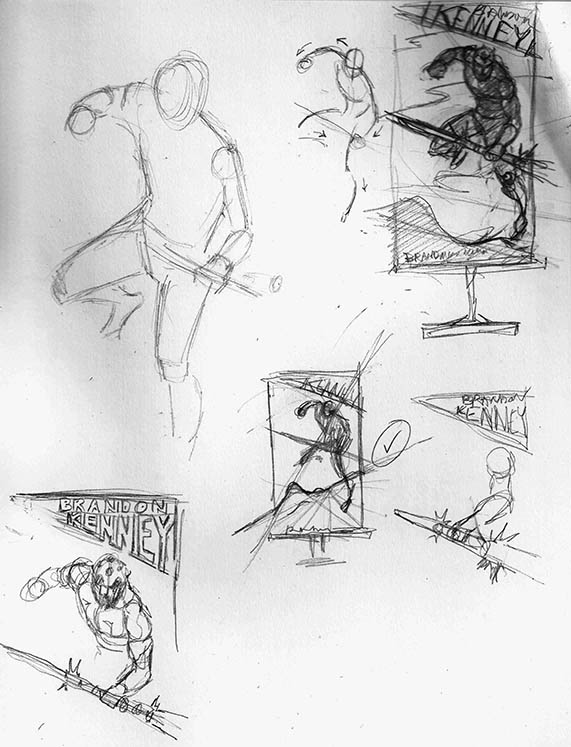 Step 1 – The basic thumbnail sketches. I had a few pages of these, but I already had a concept strongly imprinted in my mind and I was a bit too stubborn at this point to really think about anything else so I decided to run with it. I prefer to be more open minded at this stage, but sometimes it’s hard when you already have that image floating around in your head.
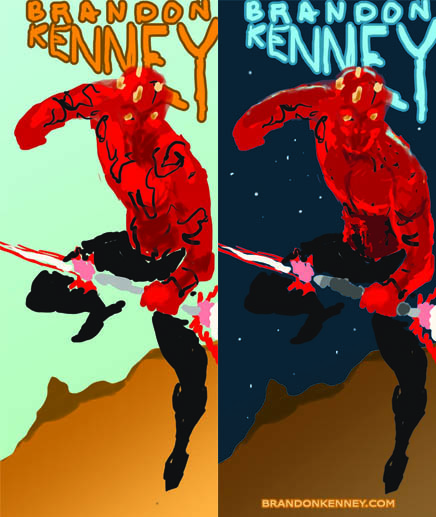 Step 2 – I boot up Photoshop and use my Wacom tablet to quickly transfer the idea into a digital form. Here I can play with colors and start to get an idea for what the banner will look like once it is finished. I’m not concerned with clean lines or anatomy or much of anything besides the layout and color palette. My first inclinations are never the strongest, but it’s not until I actually see them in front of me that I realize that.
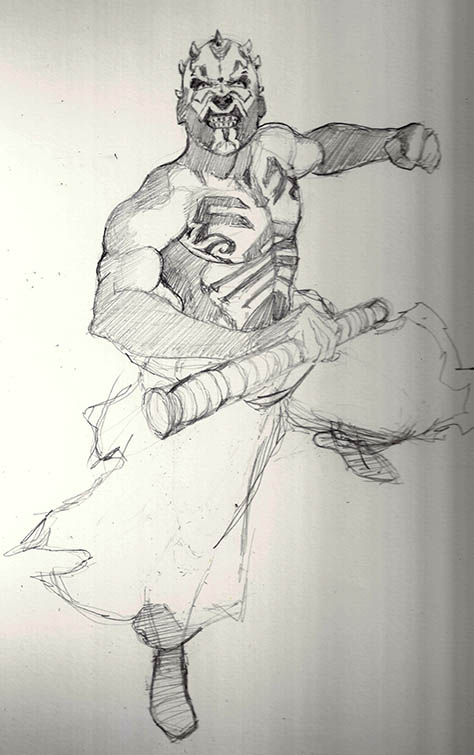 Step 3 – Back to pencil and paper. I ended up not liking the original concept and opted to place Maul in a different location. Now I shoot a little photo reference and test out a pencil sketch. The reference (not shown) is just me in front of a mirror holding a cardboard tube. I’m not entirely certain how to handle the lower half of Maul’s body at this point so I leave it rough and scan in what I’ve got.
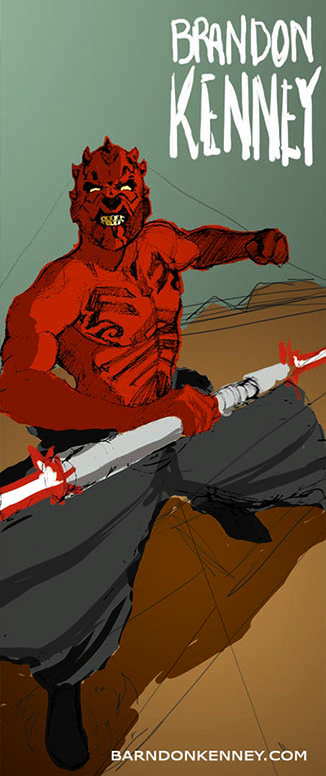 Step 4 – Now that the drawing is scanned I try to work a better color scheme and begin figuring out the text placement. I’m not attached to anything at this point and it may seem like I’m just repeating the first two steps, but it’s the progression that helps me find my way. None of my ideas are ever perfect, or even very good in the first few stages.
 Step 5 – After seeing the new sketch with color in its overall composition I realize Maul is too short and stubby. This is easily remedied digitally by just stretching out the rough pencils and making minor adjustments. I also decide to redraw the lower half of his body and try solve that problem. It’s at this part of the process that the banner starts to take its final shape. This is probably my favorite part.
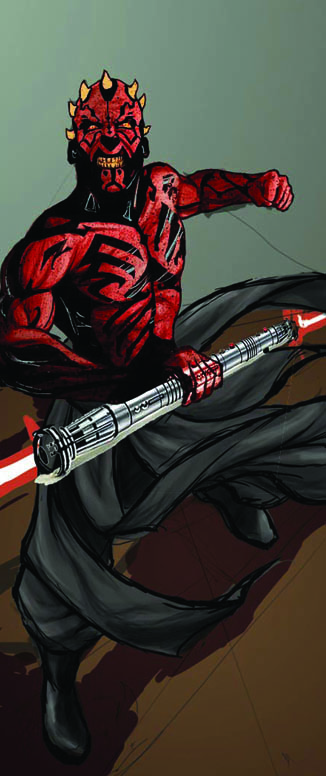 Step 6 – I remove the text for now so that I can focus on the figure of Maul. At this point there is a lot of researching going on trying to figure out Maul’s body tattoos and wardrobe. I insert a photograph for his saber because I need to see it, but I haven’t taken the time to sit down and draw it yet. I generally save the technical precise parts of a drawing until the end because they are very cumbersome and can slow down the energetic pace of a piece once I start working on them.
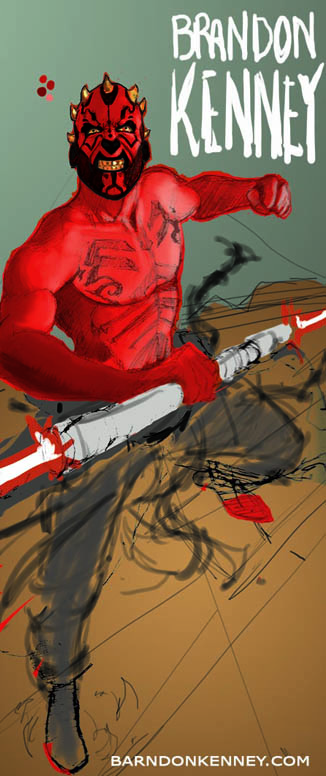
 Step 7 – Now that I’m happy with the basics of Maul’s body and face I move on to flesh out some of the background elements. The smoke and rocks are all just temporary at this point, but sometimes the layers combine to create something I never thought of so I like to get the elements in sooner rather than later. I’m also playing with different text layouts for the name. I have help from my sister who is a Graphic Design guru who always has a better eye for the design elements than I do.
 Step 8 – I like to get as much texture and pencil work as I can cram into my digital pieces so at this point I draw the background elements on paper and scan them in. I also start experimenting with different splattering techniques and anything else that I can do with traditional work that could help make the banner stronger.
 Step 9 – After I scan in the pencil work I add different layers of detail and splatter to Maul and the background. I also make slight adjustments throughout the process because it never looks perfect. Here I noticed his head was just a little bit too big and I shrunk it. I is hardly noticeable, but when you see it I think you’ll agree it makes a big difference. I’m never happy to settle with the colors and each time I get a chance I’ll try to alter them a bit and see if it works. I usually set the colors save a copy of the file and walk away for 30 min to an hour before I come back and see it it’s working. It’s important to try and keep a fresh perspective.
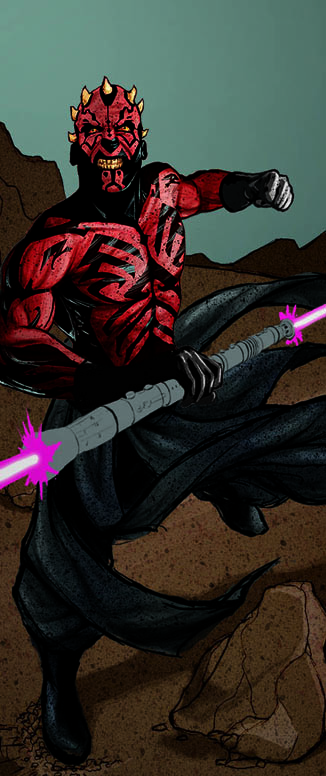
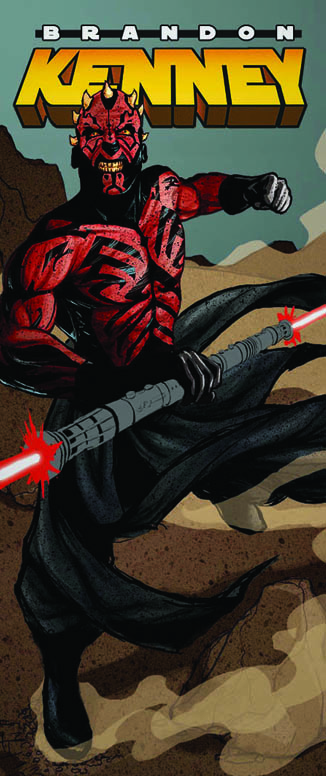 Step 10 – More small refinements. I added gloves in the previous step because I didn’t like the way his hands/tattoos were looking. At this point I’m running out of time to get the piece off to the printer so I’m trying to make the best decisions I can with the time I have left. The idea to create a 3D text was all my sister’s. We decided the banner would look stronger with the look of a comic book cover. I had been very frustrated with the text at this point, but this decision was perfect in my eyes.
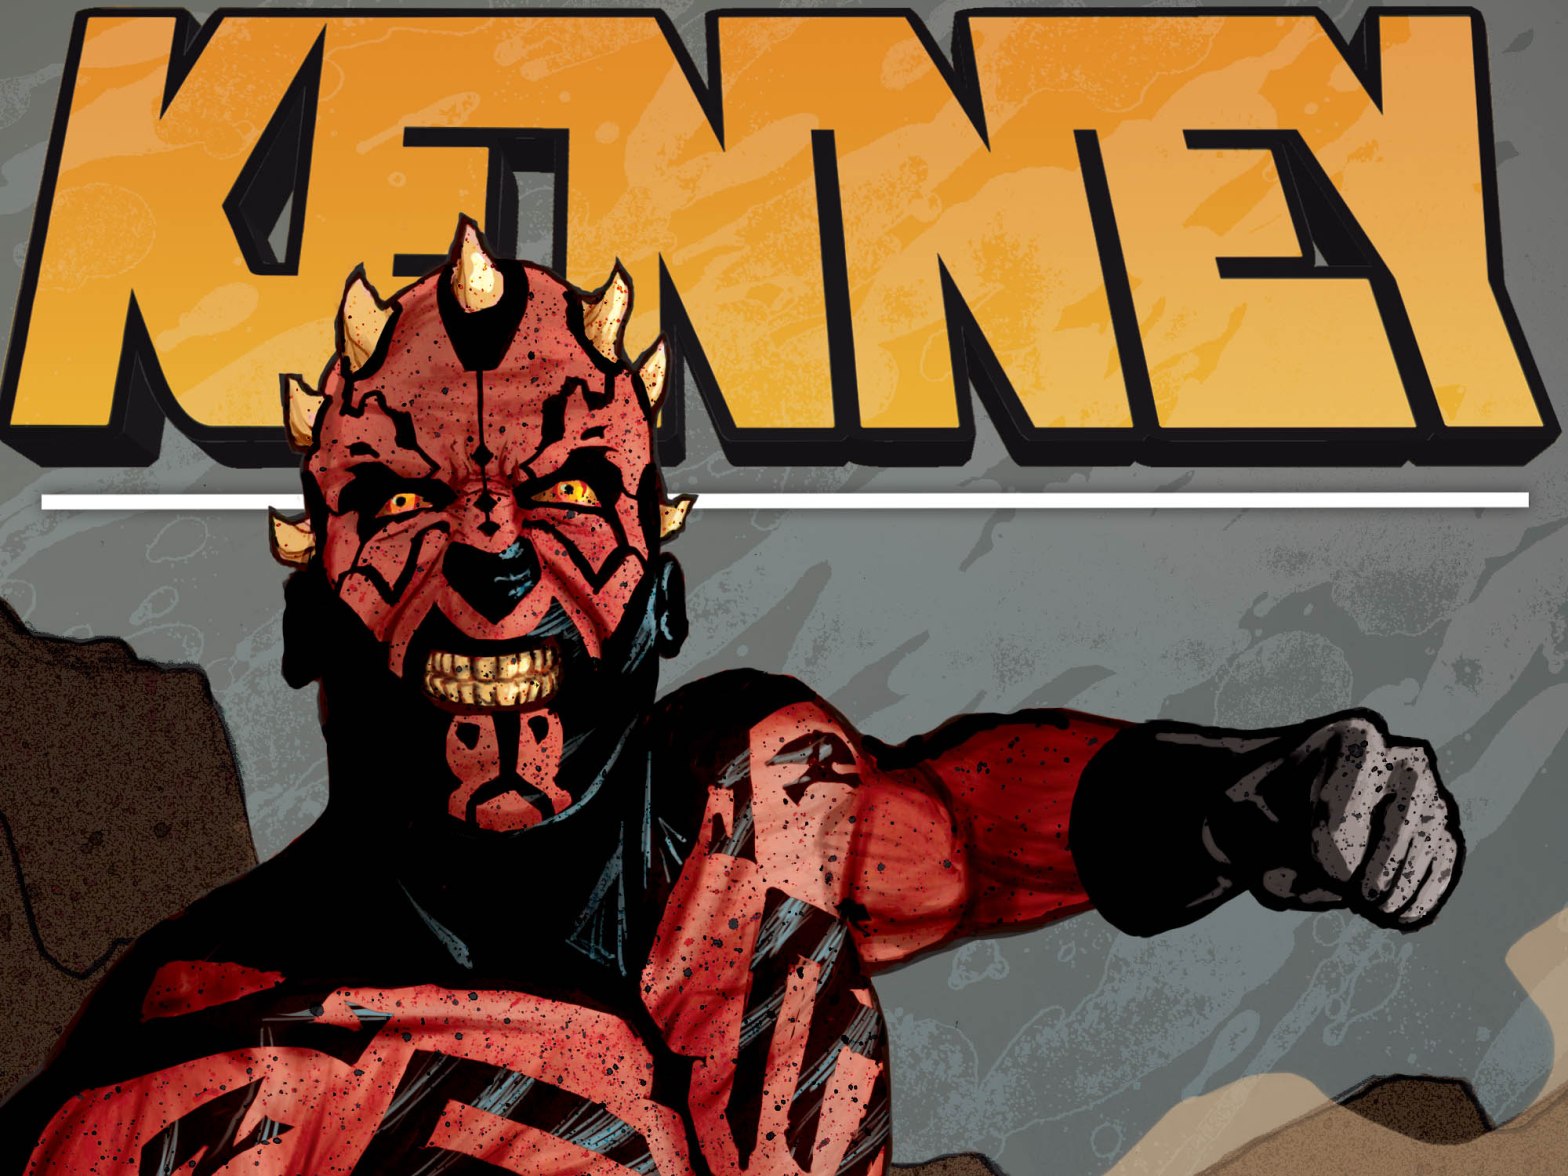
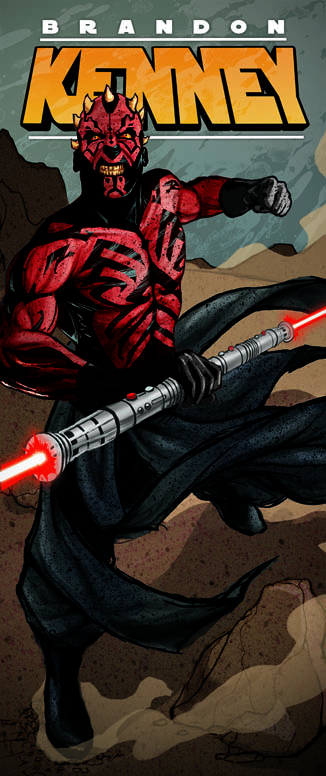 Step 11 – The final artwork! The last steps were reverting to the previous color scheme and adding all the last minute details: Bringing out the shine in the saber and the glow in the blades. Adding a cast shadow under Maul and texture to the sky and text. If I had more time I’m sure I would have done more, but I was very happy with the final result, and even happier with the printed banner once it arrived. I hope you enjoyed this little step by step, I’d like to do more when I get the time. Thanks!
